
Download & Install
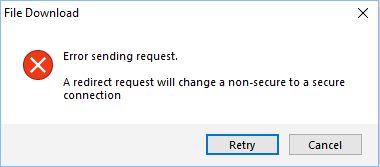
Error Sending Request: displayed when downloading and installing Spybot 2The "Error Sending Request" error usually occurs when the license installer fails to download the Spybot program.
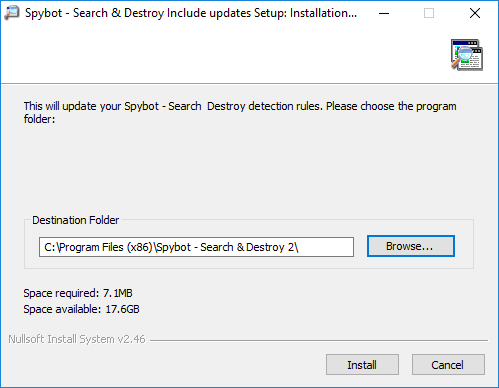
To solve this, you can manually download Spybot using the following installer: For Windows Vista or XP, please download and install Spybot 2.4 from here. Your license files will be added to the installation, activating all of the features of your paid edition. In the case that your license files were not installed correctly, please delete the folder |
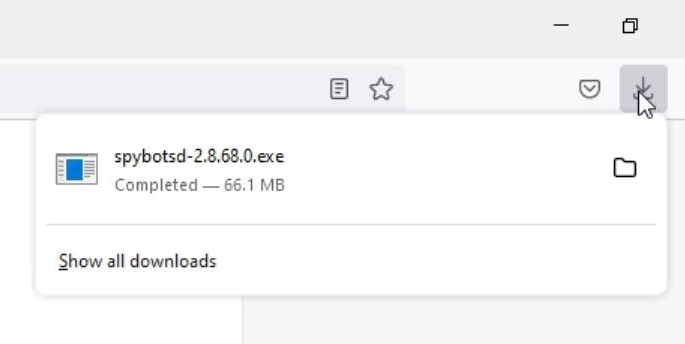
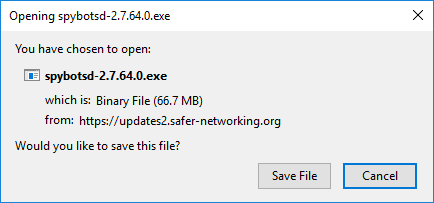
How to activate my new Spybot license?Installing Spybot +AV as a First Time UserIf you do not currently have Spybot installed on your PC: Click the link below to download Spybot 2.8: Once the download is complete, run the installer by double clicking on the file listing in your browser.
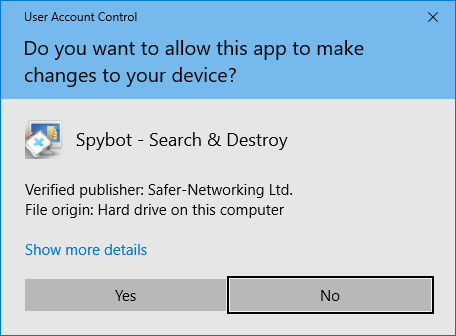
Select Yes when prompted by the User Account Control then wait for the installer to load.
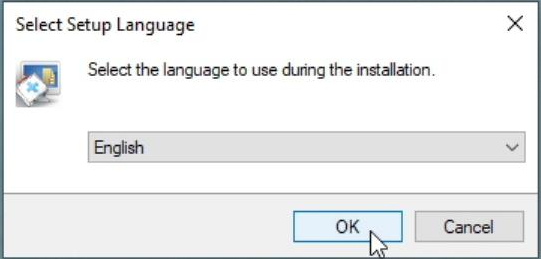
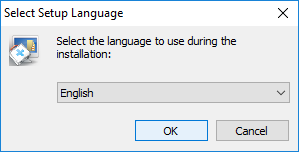
Select the desired language then click OK.
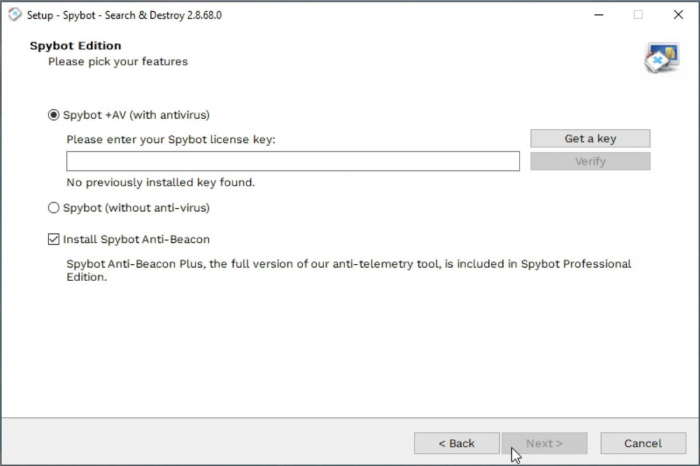
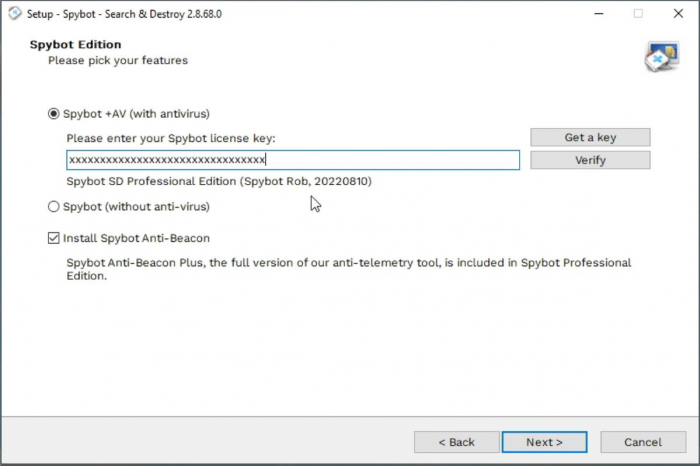
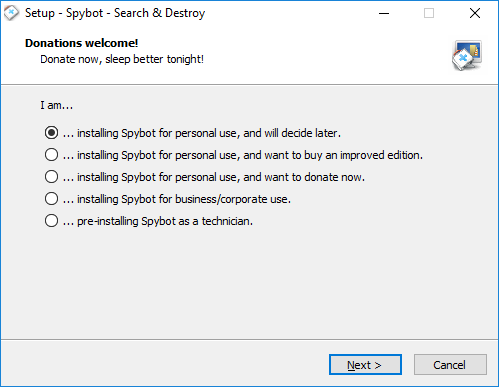
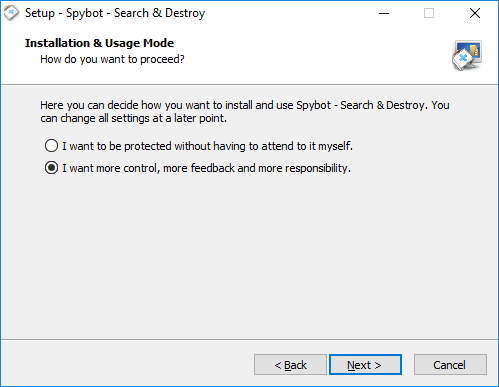
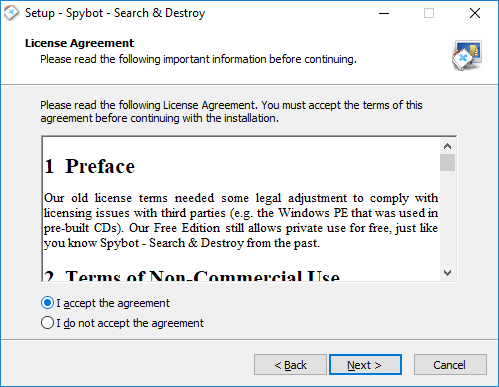
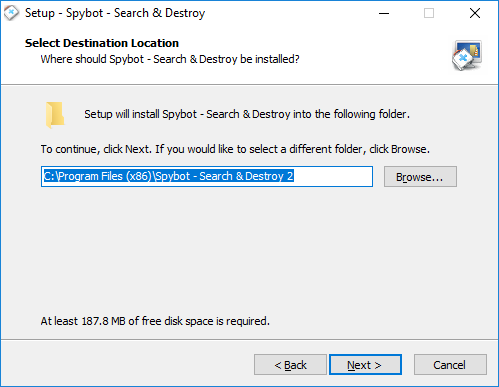
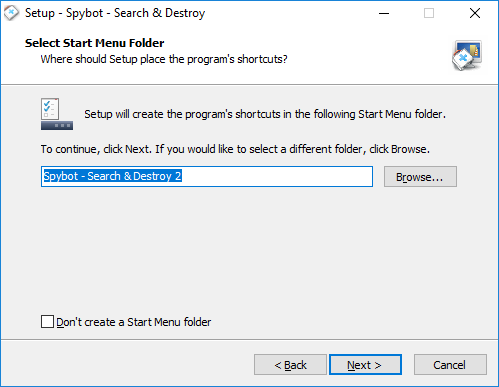
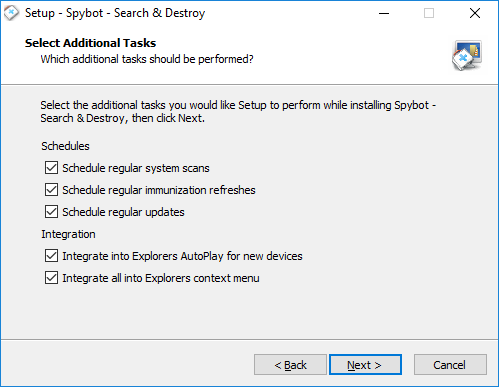
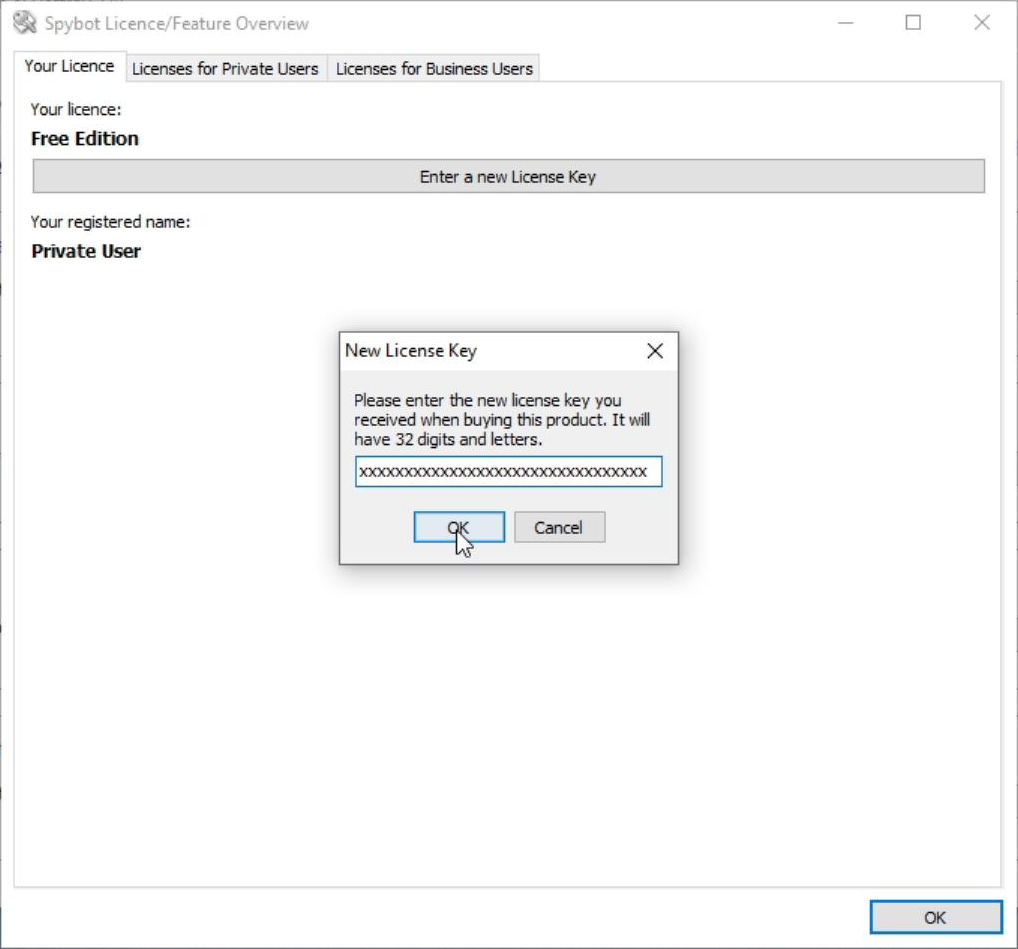
Proceed through the installation by clicking Next until you reach the Spybot Edition page. Here you can enter your license key.
Go to your Purchase Receipt email then highlight your license key, right click on it and then press Copy. Right click in the License key field then click Paste. After pasting in the license key, click on Verify Your license key should now be recognized and you can continue with the installation by clicking Next.
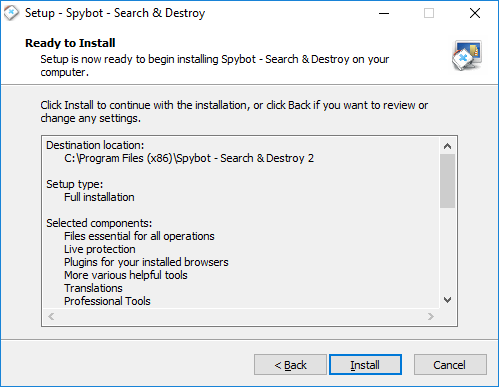
Proceed with the installation by clicking Next to finish installing Spybot +AV. A tutorial for this is available on our Youtube Channel: |
How to download & install Spybot – Search & Destroy?To download Spybot - Search & Destroy:
The displayed mirrors are partners who provide places to host Spybot - Search & Destroy for us. You can download from any of them, it is secure and they all contain the same data.
To install Spybot - Search & Destroy:
|
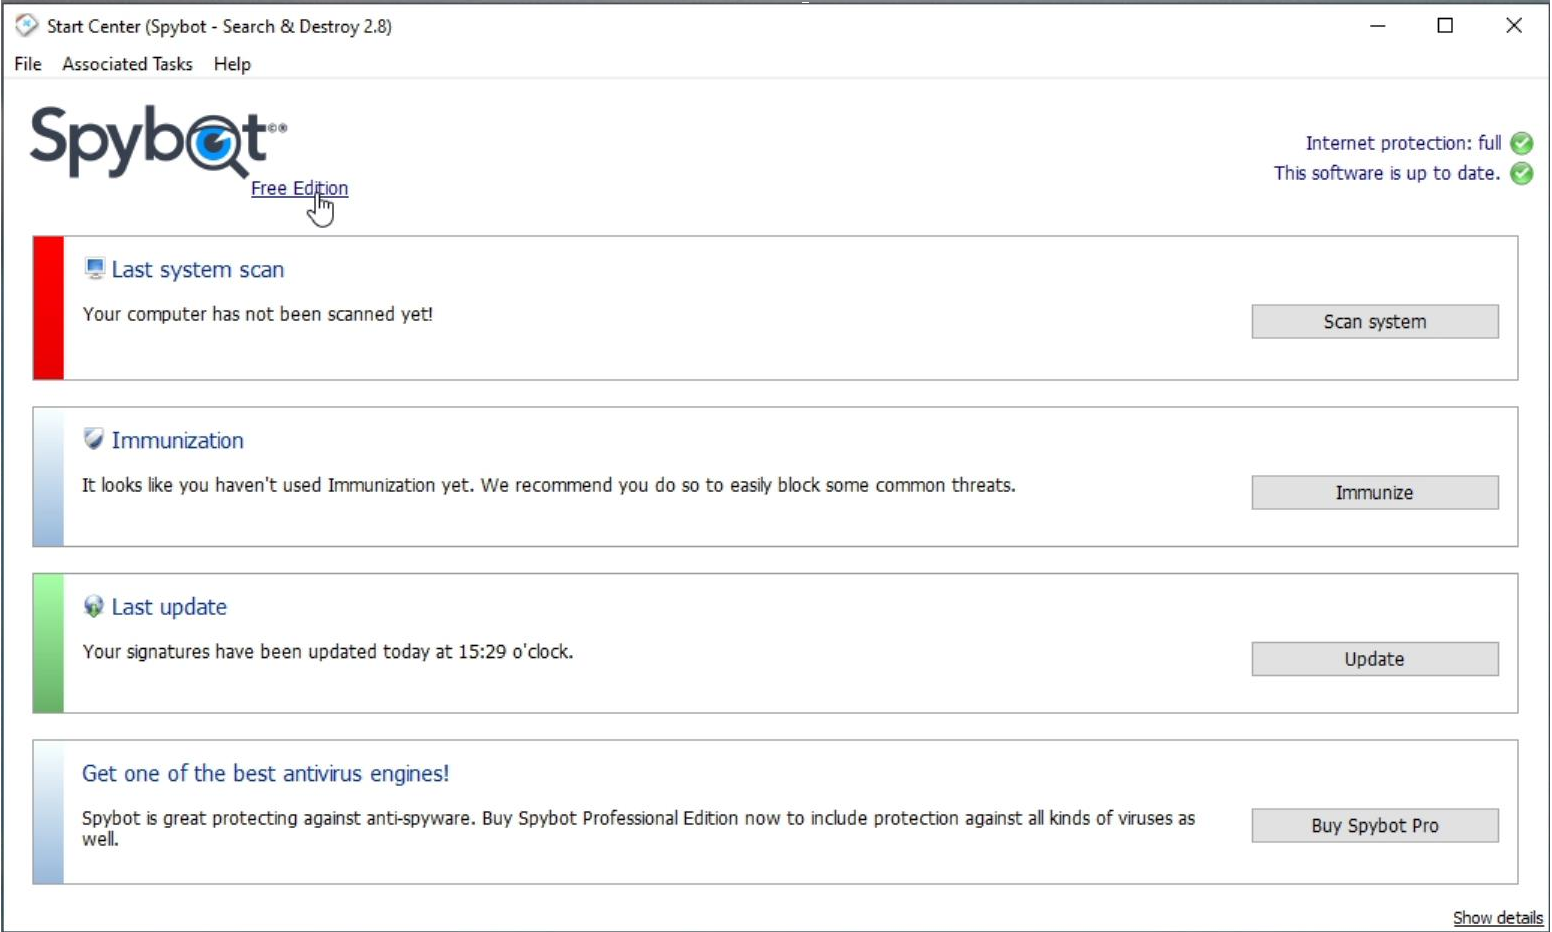
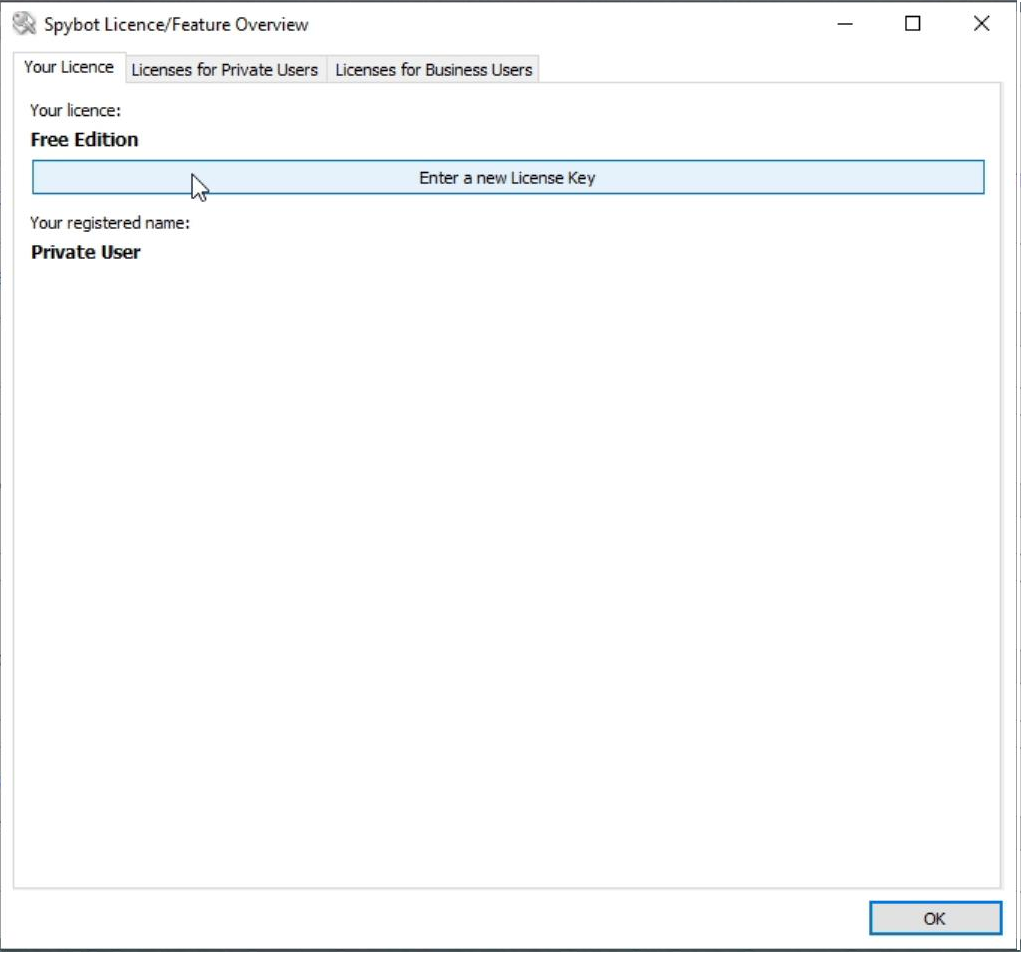
How to Install Spybot +AV as a Free Edition UserInstalling Spybot +AV as a Free Edition UserTo install/activate your Spybot +AV license with the Free Edition already installed: Open Spybot – Search & Destroy by clicking on the Spybot desktop icon. In the Start Center, click on where it says Free Edition in blue writing.
This will open the License Overview window. Here you can click on Your License.
Next, click on Enter a new license key. |
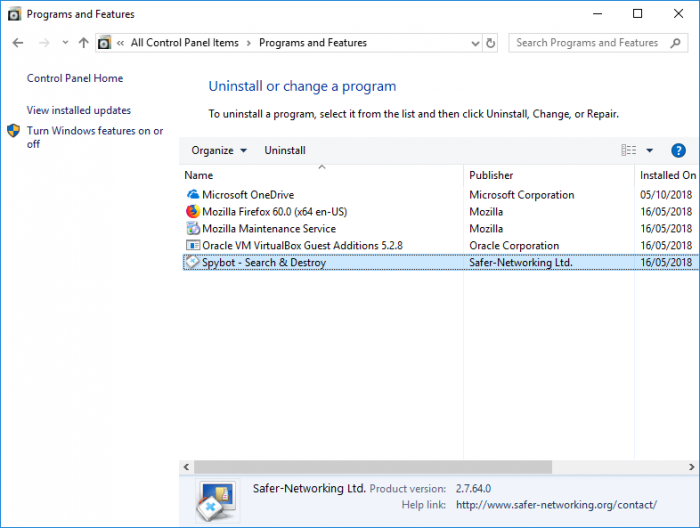
How to uninstall Spybot – Search & Destroy 2?To uninstall Spybot 2 follow these steps:
Before uninstalling Spybot - Search & Destroy, it is recommended to undo Immunization to avoid issues with the uninstallation process. It is also recommended to view Spybot’s Quarantine to restore any items you would like to keep that were detected by Spybot - Search & Destroy. Once Spybot is uninstalled, these files cannot be restored. After Spybot - Search & Destroy has been uninstalled it is recommended to delete the following folders:
Please note that the If you can’t find this folder, please check your folder properties to ensure hidden files/folders are displayed on your PC:
Then restart your PC for the changes to take affect. |
Spybot 2.5 Prompt – Post Windows 10 Spybot-installWhat is that?
What do I do with it?
If this does not work, please see here for instructions to reinstall Spybot. |

Start Center & System Scan
Are the found items really Rootkits?Malware sometimes uses rootkit technology to hide itself at system level. If you still want to remove the found items we strongly recommend to create a system restore point before doing that. |
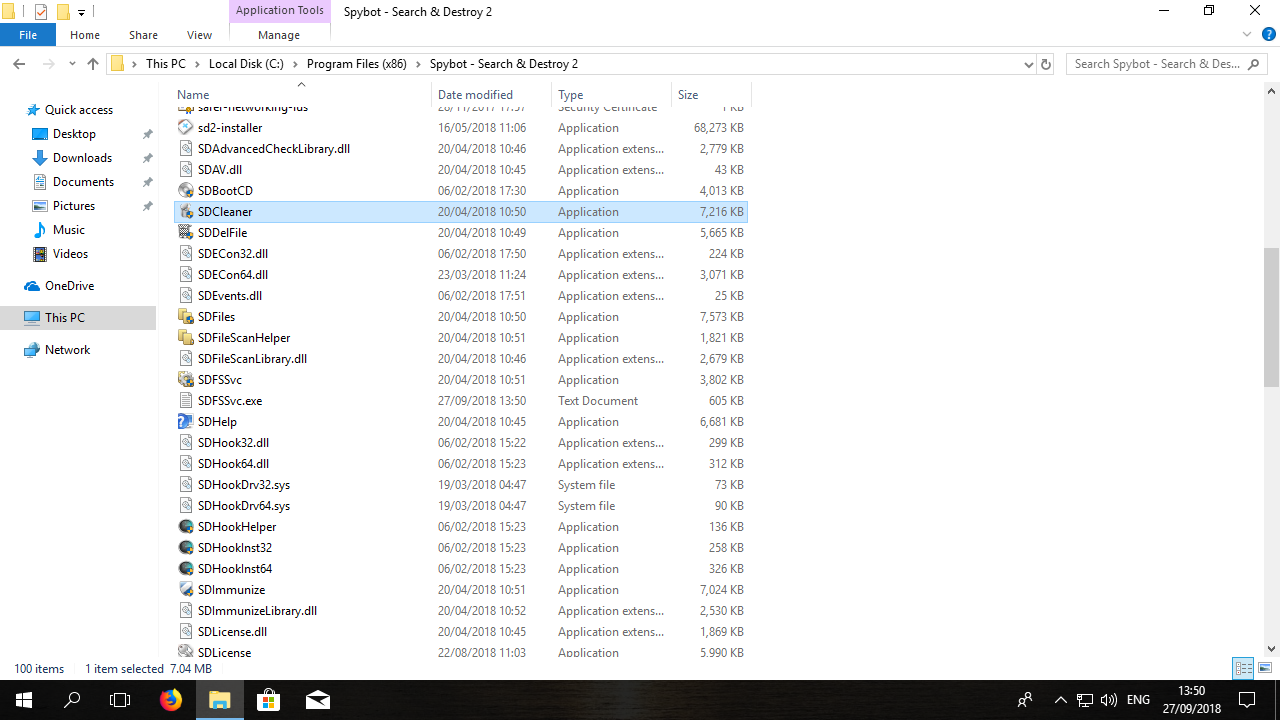
Detected items were not removed after scan. How do I remove them?If the detected items were not removed by a System Scan, you can try to remove them again by running SDCleaner manually. To open SDCleaner:
for 32-bit PCs:
for 64-bit PCs:
Alternatively, you can try a scan in Safe Mode as the malware could be affecting the removal process. To do this:
Once you have scanned using Spybot - Search & Destroy, restart your machine through the Shutdown options. Please see the links below for more information on entering Safe Mode: |
How to check my Spybot edition?To check your Spybot - Search & Destroy edition:
|
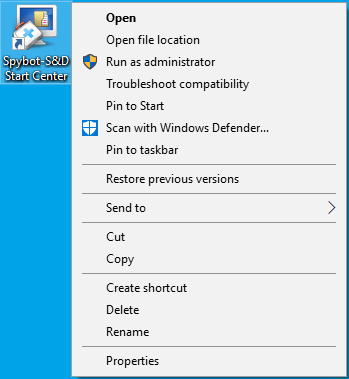
How to open Spybot with Administrator privileges/as an admin?You can solve this as follows:
Administrator accounts, by default, do not run programs as an administrator as this could allow malicious software to have administrator permissions on your PC.
|
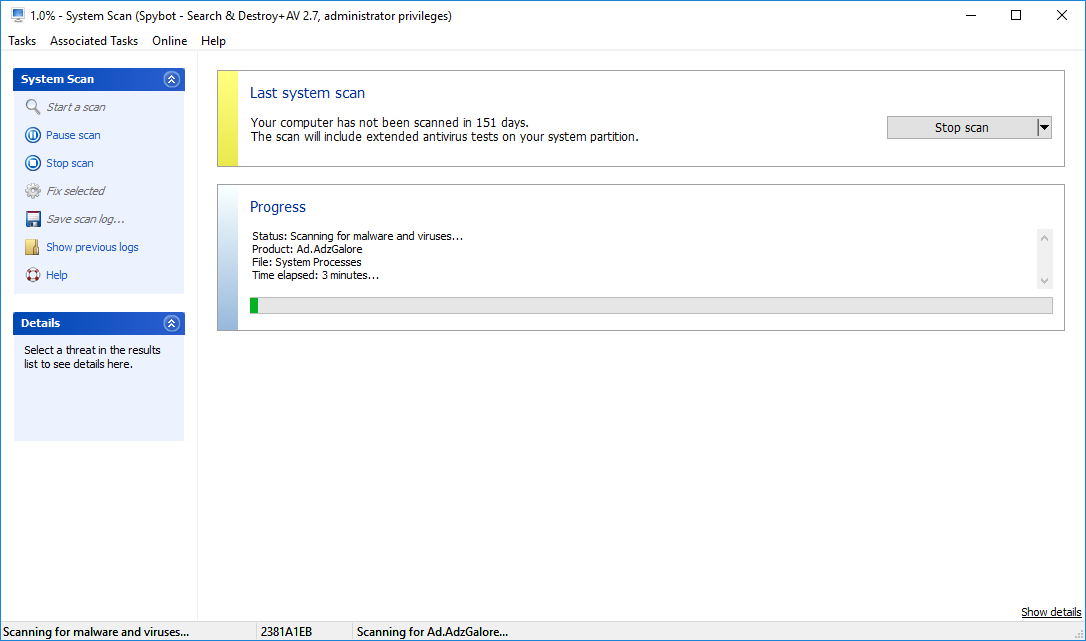
How to perform a System Scan?
|
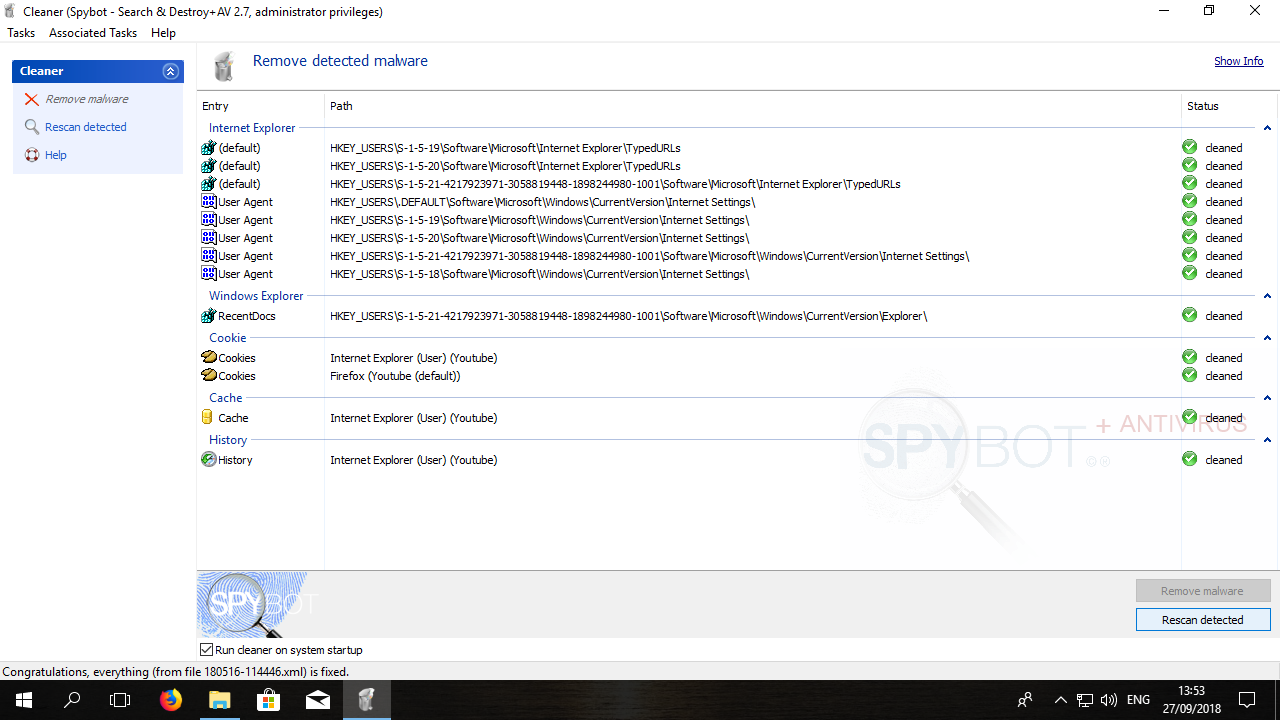
How to remove detected threats?To remove detected threats with Spybot:
|
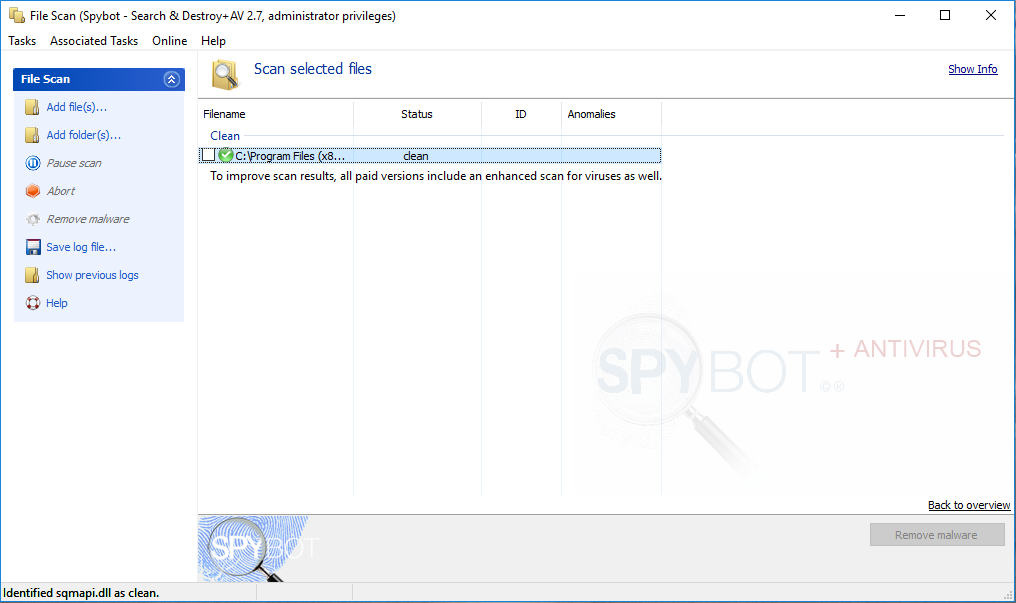
How to scan a file using File Scan?To scan a file using the File Scan:
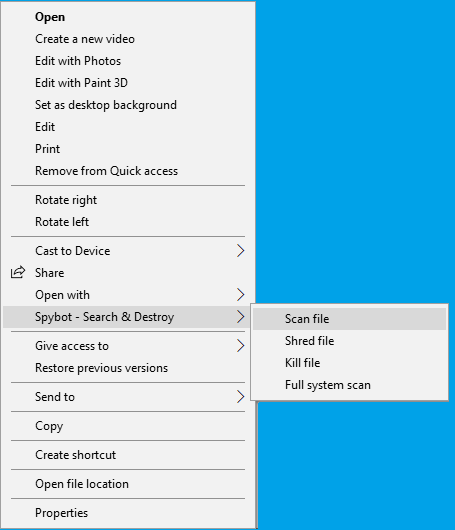
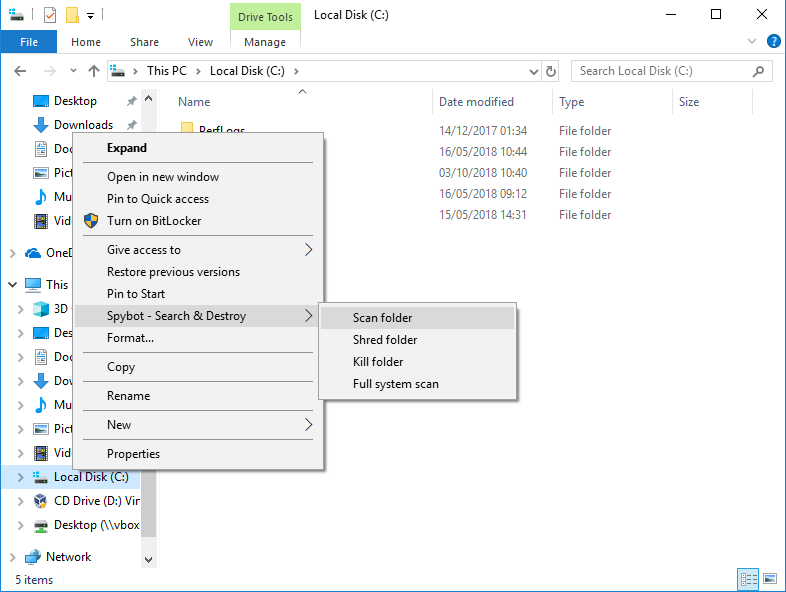
You can also scan a single file by right-clicking on the file, clicking on Spybot – Search & Destroy, and then clicking on Scan File. Note: Windows Explorer Integration must be enabled to use this option.
A clean file shows a green tick beside the file in the results list. An infected file can be quarantined by clicking Remove Malware. |
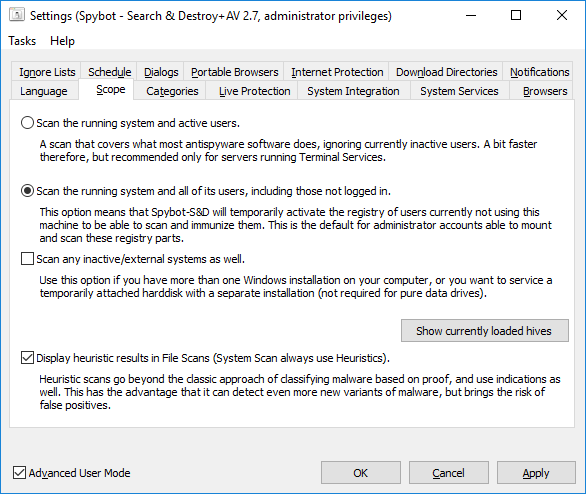
How to scan all user accounts on my PC?To scan all user accounts on your machine:
|
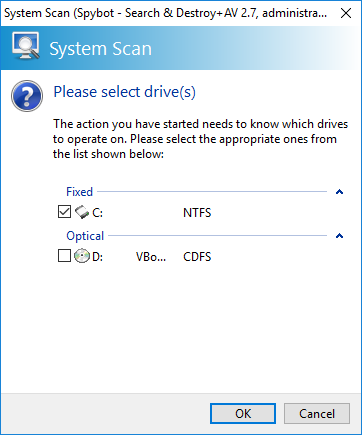
How to scan different drives on my PC?1. Run a System Scan on a certain drive
2. Run a scan on a specific folder
|
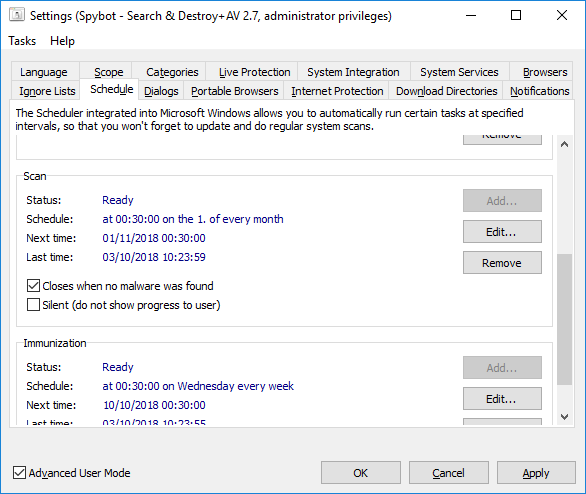
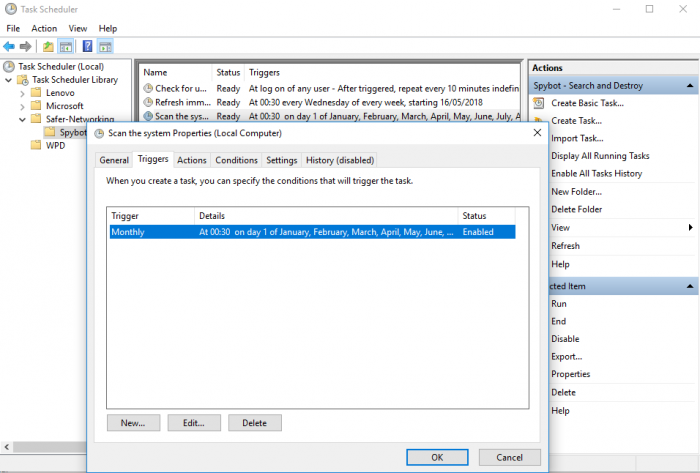
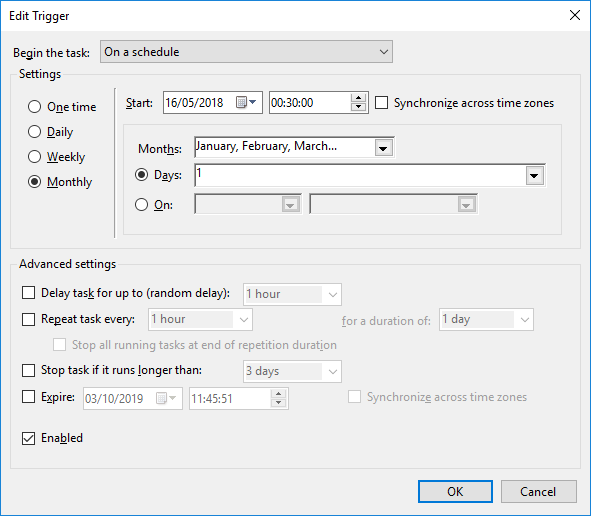
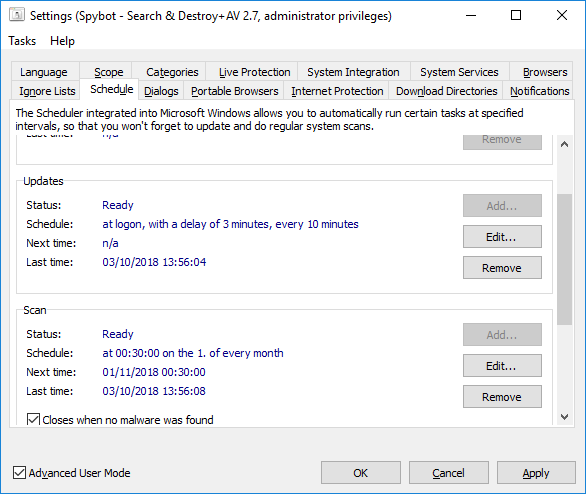
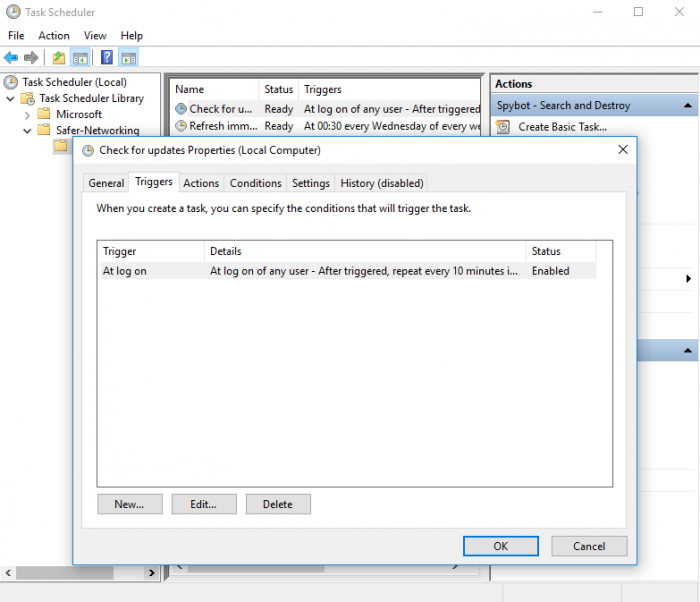
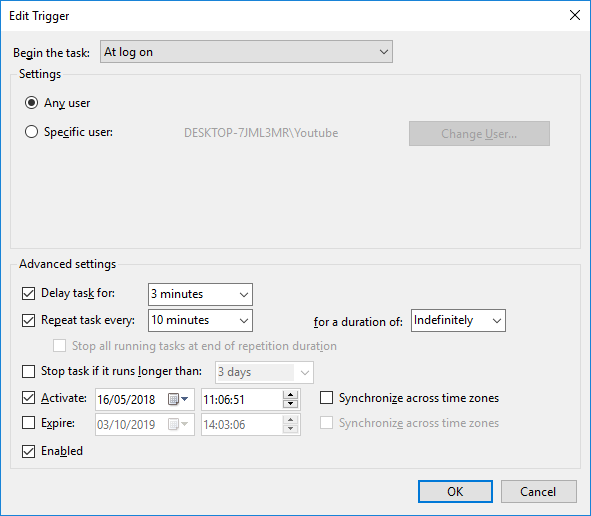
How to schedule a System Scan?Note: Task Scheduling is only available in the licensed editions of Spybot By default, the System Scan is set to run on the 1st of every month. To schedule a System Scan:
|
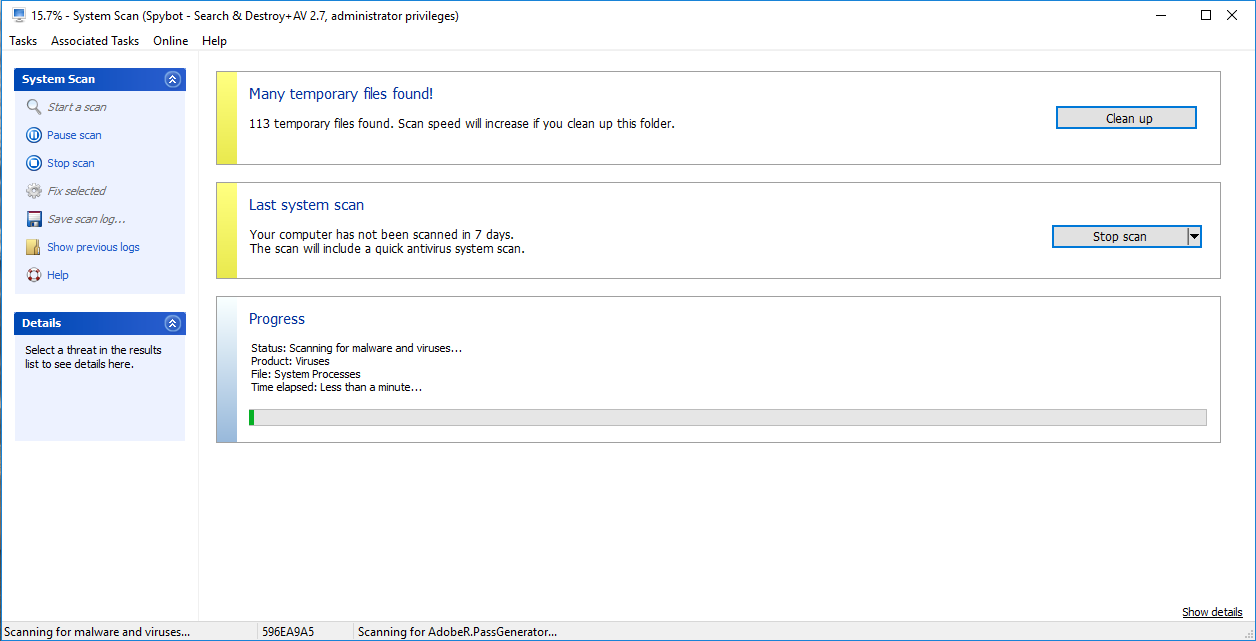
How to use the Temporary File Cleaner?The option to Clean Up Temporary Files appears in the system scan when there are 100 or more temporary files present. If there are less than 100 files present, the option is not visible in the System Scan window. If you chose to hide the Temporary file cleaner, it should reappear the next time there are 100 files or more. You can remove temporary files when this option becomes accessible again. |
How to view previous scan results?To display the results from your last scan: |
The System Scan did not detect any threats on my machine. What can I do?Please download and install Spybot's latest definition updates:
If Spybot - Search & Destroy still does not detect any threats on your PC, you can try performing a scan in Safe Mode using the instructions below:
Please see the following links for more information on entering Safe Mode: Windows XP If Spybot still cannot detect or remove this threat, it is likely that you have a new threat or a new variation of a known threat. |


Immunization
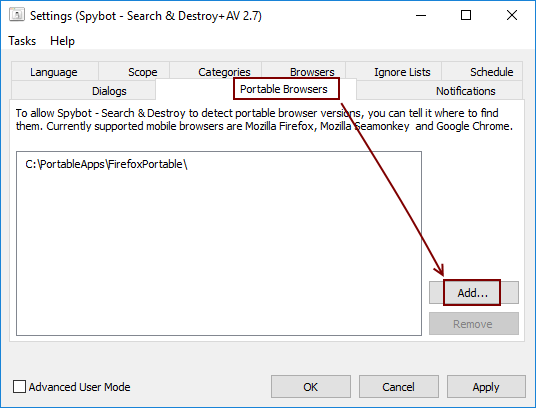
Can Spybot scan / immunize portable browser installations?Portable installations, e.g. if you use PortableApps, can be added through Spybot's Settings window. Open Settings, switch to the tab Portable Browsers and click Add... to specify where your portable installation is located.
|
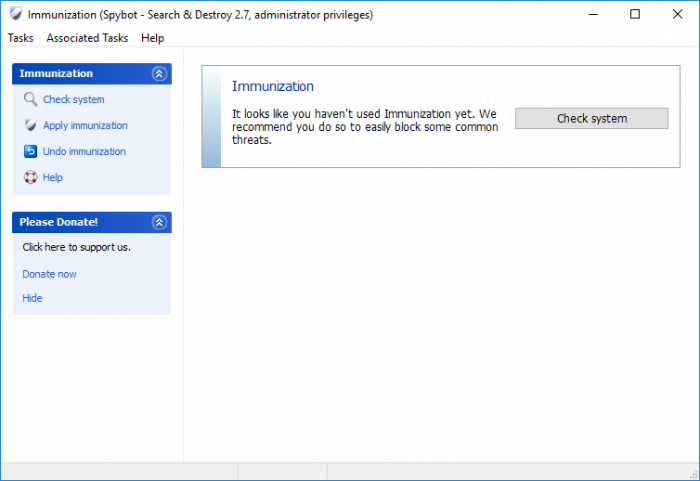
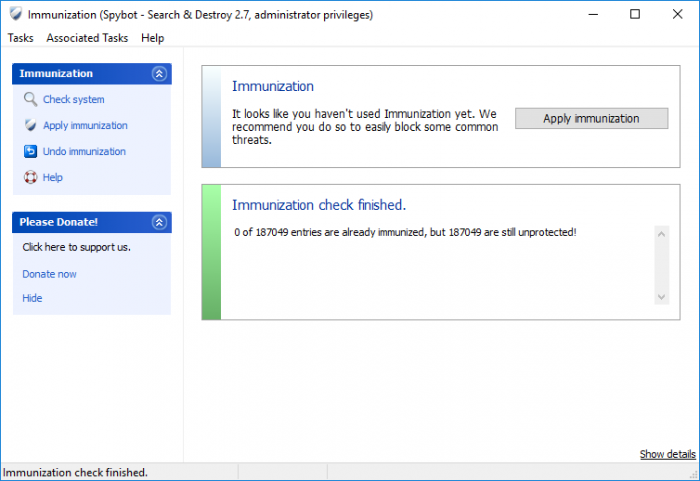
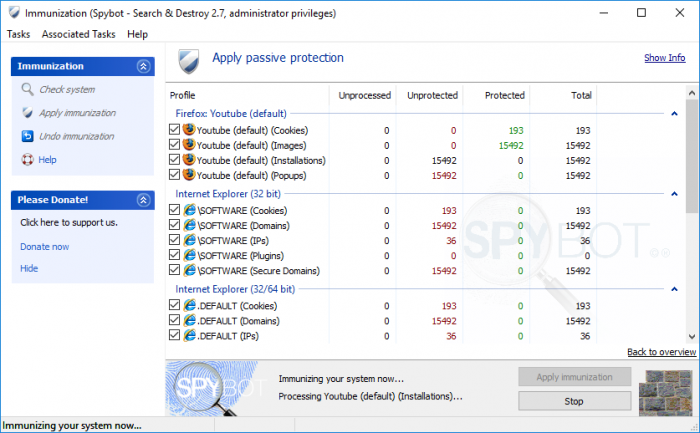
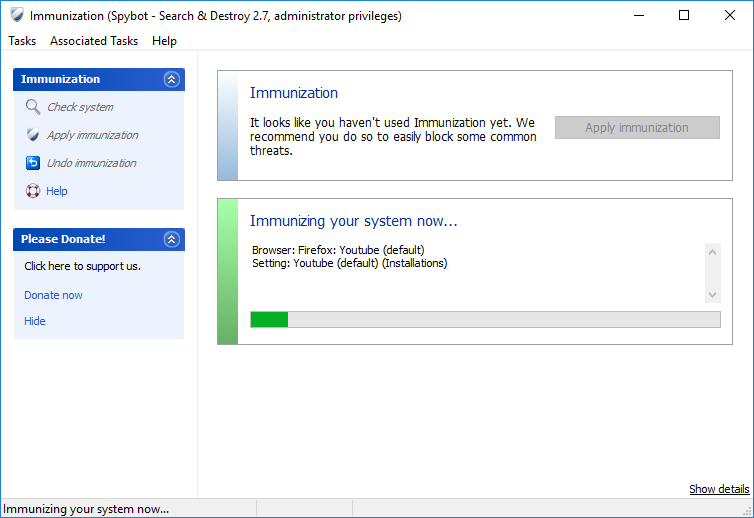
How to perform Immunization?To perform Immunization:
Please see here for more information if the immunization does not complete correctly. |
How to undo Immmunization?If you experience any issues accessing trusted websites after applying the immunization, this can be undone to see if it is affecting your access to the site/sites. To undo Spybot’s Immunization:
|
What is Immunization?The Immunization feature provides Internet Protection by preventing users from entering malicious, untrusted or potentially dangerous websites. This is done by adding a list of known malicious entries to the Windows hosts file. It also prevents tracking cookies from entering your system, and blocks known spyware installers (and similar baddies) already included in Spybot’s database. |
Why are some items still unprotected after performing Immunization?There a different reasons why an Immunization might fail. These are usually:
It is necessary to run the immunization with elevated privileges (as an administrator), otherwise the global immunization will fail. To ensure that Immunization is applied correctly, please disable all other security programs that you run and close all browsers and any other programs during the work with Spybot – Search & Destroy. To Immunize your browser:
|
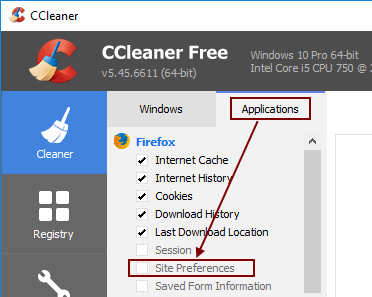
Why does Firefox Immunization get undone frequently?Firefox Immunization works by adding negative permissions to your Firefox profile, which will effectively block elements. Some registry cleaners are unable to distinguish between positive and negative permissions and will simply remove all permissions from your Firefox profile. Workaround for CCleanerOn the Applications tab, in the Firefox section, make sure Site Preferences is unticked.
|
Settings & Tools
Are there special System Requirements for Spybot?If your Windows works well on your computer, all you need is harddisk space of around 500 MByte for Spybot - Search & Destroy, 500 MByte for +AV (Antivirus) and less than 100 MByte for Spybot Anti-Beacon. |
Does Spybot conflict with other antivirus programs?In the case you are using another antivirus program that contains Live Protection, real-time Protection or some equivalent, this could be conflicting with Spybot’s Live Protection. To avoid conflicts that might arise in this case, please disable the Live Protection on either Spybot or your other antivirus program. Please see the link below for info on the dangers of running more than one form of real time protection: To disable Live Protection in Spybot, please do the following:
There is also a button for Show Live Protection advanced controls on this page. If you click this button you will see two options. You can choose either of these:
|
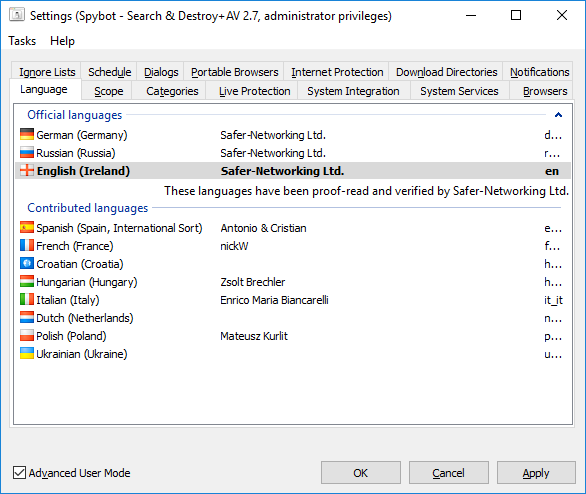
How to change the language in Spybot?Spybot – Search & Destroy supports different languages. You can easily switch to your favorite available language using the instructions below. To change Spybot’s language:
|
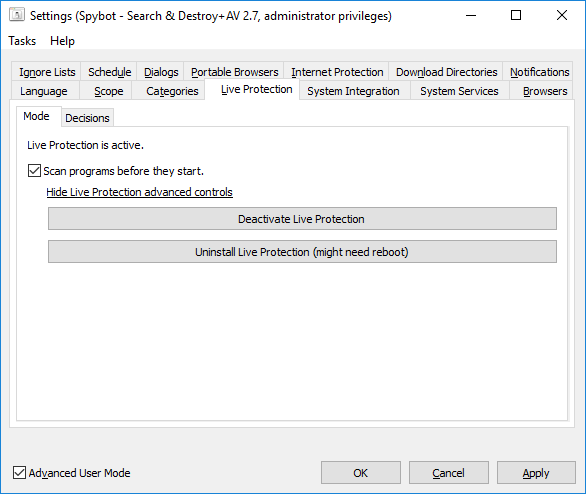
How to disable Live Protection?To disable Live Protection:
You may receive a message saying that "The Live Protection System Driver could not be deactivated/uninstalled. A reboot might be needed to completely deactivate Live Protection." You must restart your PC for the changes to take effect. After your PC has restarted, Live Protection should now be disabled. |
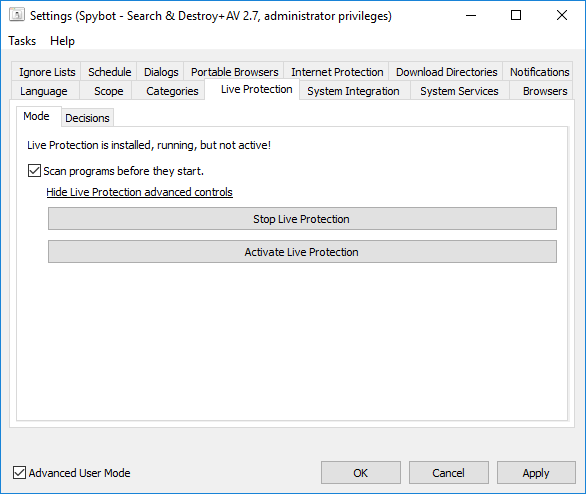
How to enable Live Protection?To enable Live Protection:
|
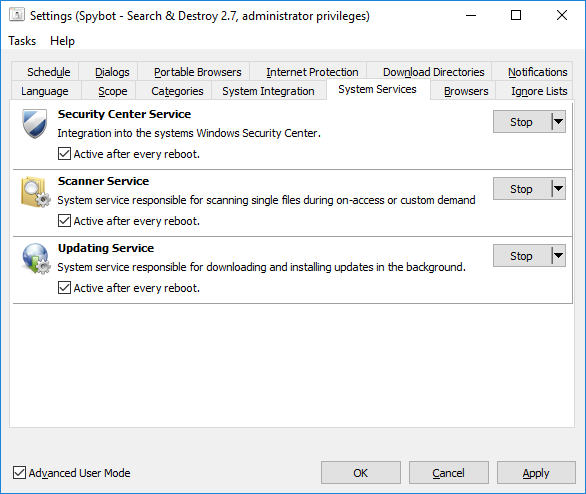
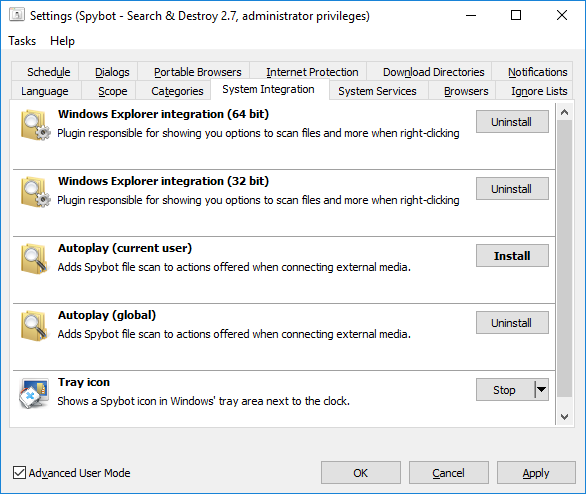
How to enable/disable System Services?
Here, you will see the Security Center Service, the Scanner Service and the Update Service. These services should be enabled by default. Disable a service Click the Stop button beside the service you would like to disable. To disable it permanently, you have also to untick the checkbox beside Active after every reboot.
Click Apply and OK then restart Spybot for your changes to take effect. |
Is it possible to run Spybot and Windows Defender?
After disabling the service and rebooting your PC, Windows Defender should function correctly again when it is run. However, the antivirus programs could now conflict and cause issues. To avoid this with Spybot, please also disable Live Protection/Real-Time Protection in either Spybot or Windows Defender. You can find instructions for disabling Spybot's Live Protection here. |
Why does Windows Explorer crashes on right-click?This issue can be caused by Spybots System Integration. To fix this issue:
|
Why is my PC running slow after installing Spybot?This could possibly be caused by Spybot's Live Protection. This scans all programs before they start to prevent any infections or threats from entering your system. The benefit of this is that it keeps your system free from malware and other harmful threats. The downside is that Live Protection must scan all processes to keep your PC clean. This can cause your PC to open programs much slower. Please see here for instructions to disable Live Protection. You must restart your PC for the changes to take effect. After your PC has restarted, Live Protection should now be disabled. If you have another AV program with real-time protection, you should disable either it or Spybot's Live Protection as running both at the same time can cause them to conflict with each other. Please see the following link which gives information running more than one AV program: |
Updates & Licenses
How to manually download updates for Spybot 2?You can manually download the antispyware definitions for Spybot using the instructions below:
Unfortunately it is not possible to download the Antivirus definitions manually. |
How to report a problem?If you are unable to find a solution for your problem, please let us know. Please let us know each detail that will help us to reproduce your issue. That is e.g. a screenshot of the window showing the problem and any other error messages you receive. Also let us know what you have done before the message appeared, e.g. what you have clicked. All this send to Team Spybot by using the link below to the Request Support page: See the following link for more information on how to take a screenshot: It is recommended not to send photos made using a mobile phone. Only screenshots please. |
How to restart the update service?To enable the Update Service:
|
How to schedule Updates in Spybot 2?
|
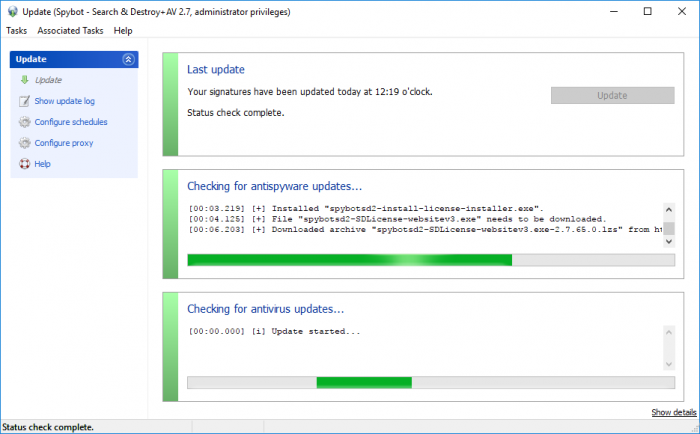
How to update Spybot – Search & Destroy?The Spybot updates contain all of the definition files and detection signatures which are used by the System Scan to search for and detect malware and viruses. You are required to update Spybot before performing a System Scan to ensure that all of the latest definition updates are installed so that you are capable of protecting your PC from the latest threats. Before updating Spybot, you should disable any other security programs that are running real time protection which may interfere with the Spybot update, causing it to fail. To update Spybot:
If a file(s) fails to download during the updates, please close the updater then open it again. After the status check is complete the update button will become active again. When you re-select the update button the update should resume and complete successfully. For more information, please view our video tutorials on Updating Spybot: Licensed Edition: Free Edition: If you are still unable to update Spybot, please take a screenshot of the update window and any other error messages you receive then send them to Team Spybot by using the link below to the Request Support page: |
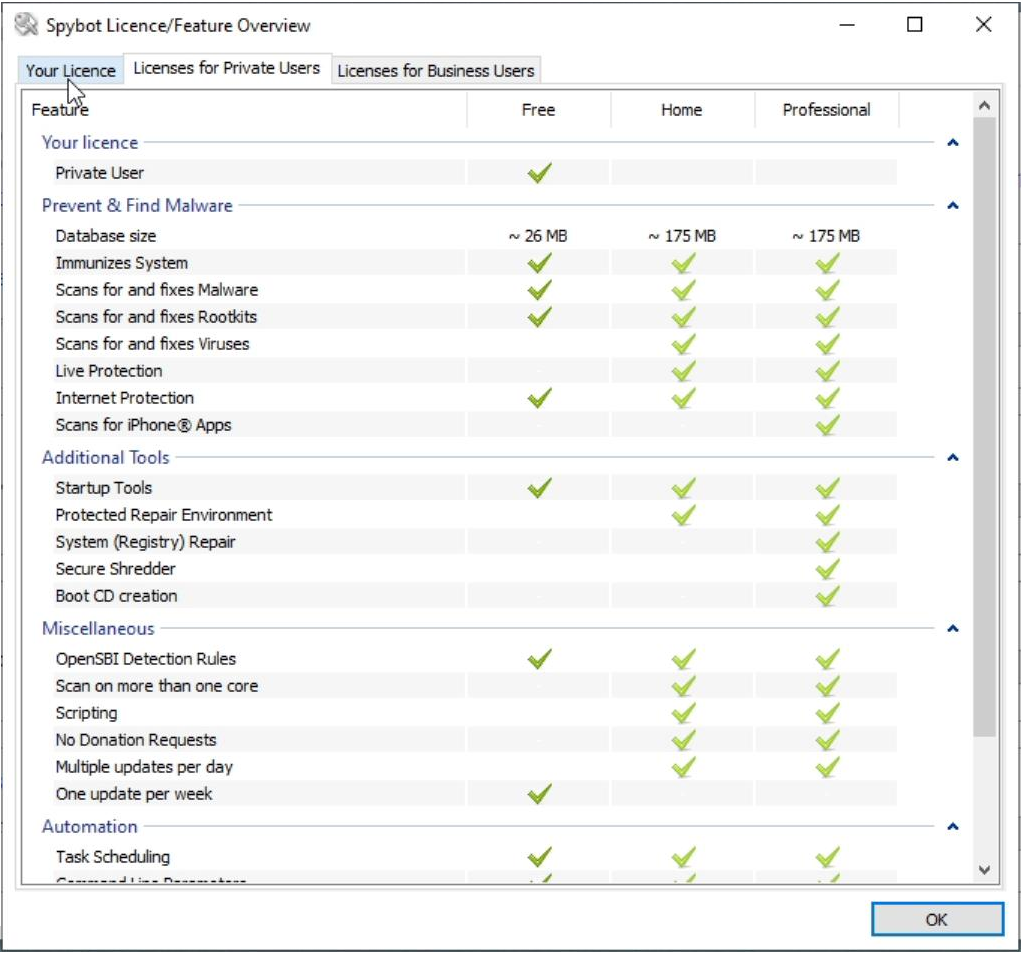
How to view my License Details?To view your license details, first open the Spybot Start Center. You can open the Start Center by clicking on the Spybot Start Center desktop icon or by searching for Spybot in the Windows Search.
Here you can click on the Your License tab to view your license details.
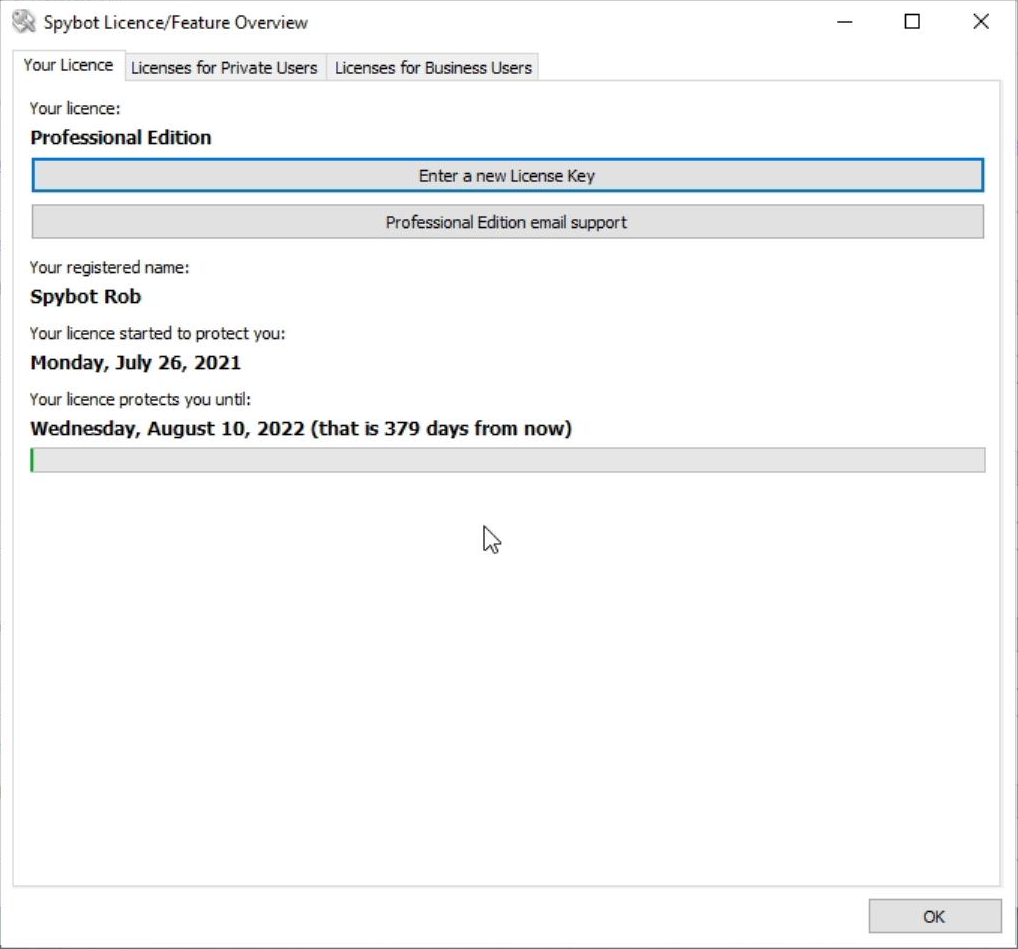
The Your License tab displays information about your currently installed license.
1. Shows your License Edition 2. Links to our Support Contact form on our website 3. Allows you to enter a new license key 4. This shows the license name given at the time of purchase 5. This shows the start date of your license which is the day of purchase. 6. This shows the date when your license will expire and how many days are left on your license. 7. The green bar represents the amount of time that has elapsed in your license. |
How to view the update log in Spybot 2?To view the Update Log:
This opens the Update.log file.
|
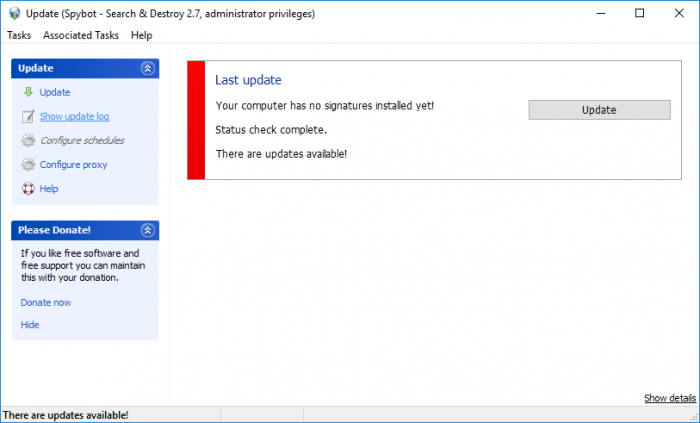
Why Cant I See the “Enter a new License Key” Button?If you cant see the Enter a new license key button, you must download and install the latest Spybot updates. To install the latest updates:
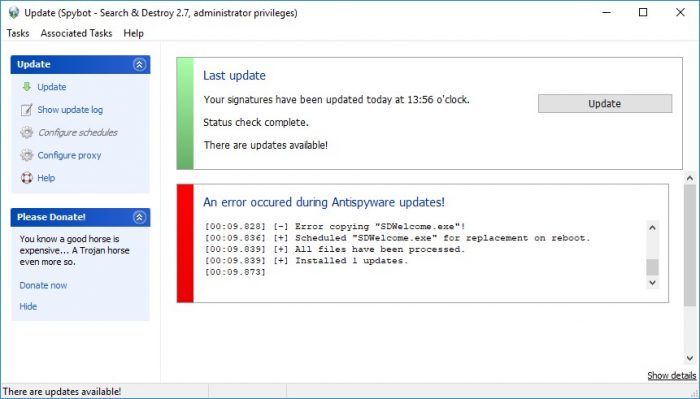
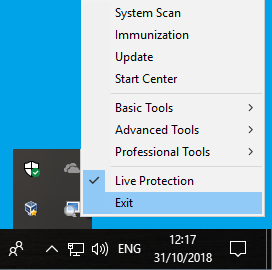
If you see the above error message when updating Spybot, please close the Spybot Start Center then close the System Tray by right clicking on the System Tray icon and clicking Exit.
You can then try to update Spybot again. After successfully updating Spybot, please Close and re-open Spybot again. Your should now see the Enter a new license key button in the Your License tab. |

Donate now!
Please donate to support our fight against spyware!